Wrapping a personalized gift is more than just putting it in a box; it's about presenting your thoughtful gesture in a way that makes it even more special. Whether it's a birthday, an anniversary, or a "just because" moment, wrapping your gift beautifully can enhance the experience for the recipient. Let's dive into how to wrap personalized gifts for him, ensuring that your effort shows just how much you care. gift-giving challenges.
In this guide, we'll walk through the steps of selecting materials, techniques, and common pitfalls to avoid, making sure your gift looks as amazing as it is meaningful. Let's make that gift shine!
Table of Contents
Step 1: Choose Your Gift and Personalize It
Before you get into the wrapping, ensure you have your gift ready. Personalized gifts for him can range from engraved items to custom artwork. For example, consider a special mug for celebrating milestones or a meaningful mug for special occasions that can be used daily. Once you've selected your gift, take the time to personalize it; this can be through engraving, custom messages, or unique designs that reflect his personality.
1. Selecting the Right Gift
Choosing the right gift is the first step in the personalization process. Think about his interests, hobbies, and what would make him smile. Here are some ideas:
- Engraved Items: Items like watches, keychains, or wallets can be engraved with his initials, a special date, or a short message.
- Custom Artwork: Commission a piece of art that represents a cherished memory or inside joke.
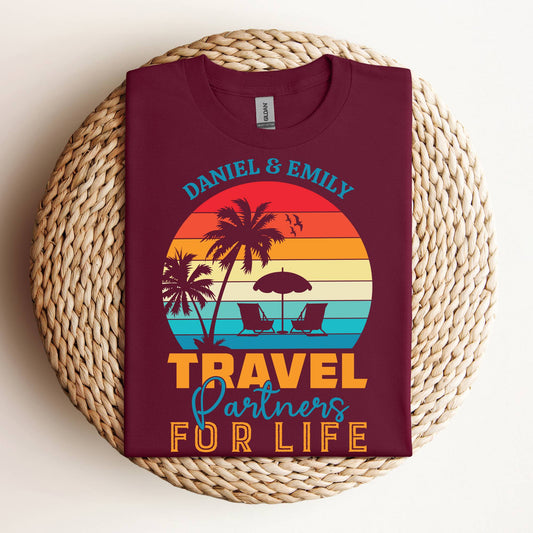
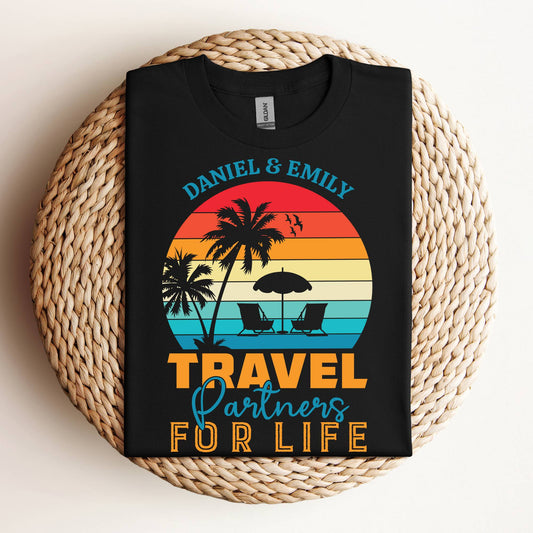
- Personalized Apparel: Consider a custom T-shirt or hoodie with a fun quote or his favorite sports team.
- Photo Gifts: Create a photo book or a framed picture that captures a memorable moment together.
2. Personalization Options
Once you've selected the perfect gift, it's time to personalize it. Here are some popular methods:
- Engraving: This is ideal for metal or wooden items. Select a font that matches the style of the gift and keep the message concise.
- Embroidery: For clothing or fabric items, embroidery adds a touch of elegance. Choose colors that complement the fabric.
- Printing: For mugs or canvas prints, ensure that the resolution of any images is high enough to avoid pixelation.
- Handwritten Notes: Adding a handwritten note or message can make the gift feel even more special. Use quality stationery for a polished look.
3. Common Mistakes to Avoid
While personalizing gifts, it's easy to make a few common mistakes. Here's what to watch out for:
- Choosing the Wrong Size: If your gift involves clothing or accessories, ensure you know his size. A good rule of thumb is to check his current wardrobe for reference.
- Overly Complicated Messages: Keep personalization simple and meaningful. Avoid long quotes that may be hard to read or remember.
- Ignoring Quality: Always prioritize quality over quantity. A well-made personalized item will last longer and be cherished more.
- Not Double-Checking Spelling: If you are adding names or dates, double-check the spelling before finalizing the order. A small typo can ruin the sentiment.
4. Example of a Personalized Gift
Let's say you decide to give him a personalized leather wallet. Here's how you can go about it:
- Choose the Wallet: Select a high-quality leather wallet that fits his style.
- Personalize It: Opt for engraving his initials on the outside and a sweet message on the inside, like "Always with you" or "Best Dad."
- Wrap It Thoughtfully: Once personalized, think about how you will wrap it to enhance the surprise. A simple yet elegant wrapping can make a big difference.
By selecting the right gift and personalizing it thoughtfully, you set the stage for a meaningful presentation in the next steps of wrapping and giving. Remember, it's all about celebrating the unique bond you share, and a personalized gift is a perfect way to do that!
Step 2: Gather Your Wrapping Materials
Now that you have your gift, it's time to gather the materials you'll need to wrap it. Here's a quick checklist:
- Wrapping paper or fabric
- Scissors
- Tape (double-sided tape works wonders)
- Ribbon or twine
- Gift tags
- Bows or other embellishments
Choose wrapping paper that complements the gift. For example, if you're wrapping a personalized mug for Mother's Day, consider floral or cheerful patterns that evoke warmth and love.
Choosing the Right Wrapping Paper or Fabric
When selecting wrapping paper or fabric, think about the recipient's personality and the occasion. Here are some tips:
- Consider the Theme: If the gift is for a holiday, like Christmas, choose festive colors and designs. For birthdays, bright and fun patterns can be more suitable.
- Match the Gift's Style: If the item is sophisticated, like a personalized watch, opt for elegant wrapping paper or a high-quality fabric like burlap or satin.
- Eco-Friendly Options: If you want to be more sustainable, consider using recycled paper or fabric scraps. A simple brown kraft paper can be dressed up with ribbons and tags for a rustic look.
Essential Tools for Wrapping
Having the right tools can make the wrapping process smoother. Here's a deeper look at each item:
- Scissors: A good pair of sharp scissors is essential. Dull scissors can lead to jagged edges and frustration. Consider using decorative scissors for a fun edge.
- Tape: While standard tape works, double-sided tape offers a clean finish, making it ideal for a polished look. Keep a tape dispenser handy to avoid fumbling.
- Ribbon or Twine: Ribbons can add a touch of elegance or playfulness. Consider using wired ribbon for a more structured bow. Twine gives a rustic feel, perfect for a down-to-earth gift.
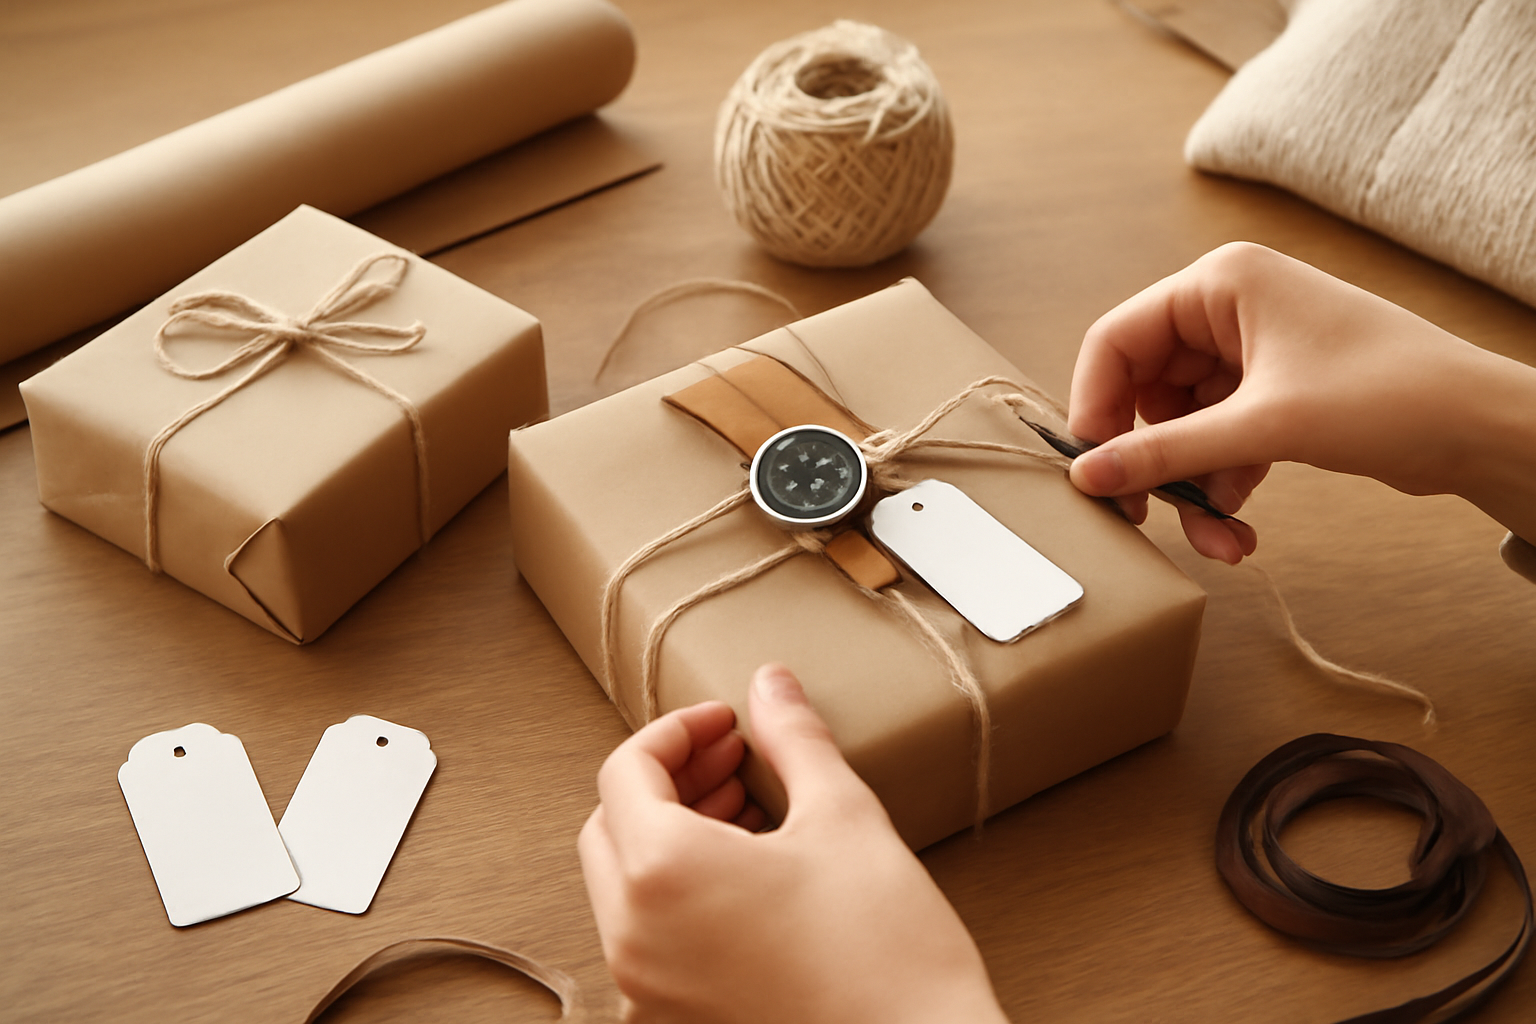
Gift Tags and Embellishments
Personalizing your gift wrapping can enhance the thoughtfulness of your gift. Here are some ideas:
- Gift Tags: Create custom tags that reflect the recipient's interests. You can handwrite a message or print out a photo of a shared memory to attach.
- Bows: A bow can elevate your gift's appearance. Consider using flowers or natural elements like pinecones for a unique touch. You can also make bows from fabric scraps for a more personal flair.
- Embellishments: Think outside the box! Use items like dried flowers, feathers, or even small charms that relate to the recipient. This adds a special touch that shows you care.
Common Mistakes to Avoid
To ensure your wrapping looks its best, be mindful of these common pitfalls:
- Overusing Tape: While tape is necessary, using too much can make the gift look messy. Aim for a balance-just enough to secure the paper without overwhelming it.
- Not Measuring Enough: Always measure your paper before cutting. Too little paper can lead to an awkward wrap, while too much can create bulk.
- Ignoring the Gift's Shape: Consider the shape of the gift when choosing your wrapping method. For irregular shapes, fabric or a gift bag might be more suitable than traditional wrapping paper.
By gathering the right materials and tools, you set the stage for a beautifully wrapped gift that reflects the thought and care you've put into selecting it. Remember, the effort you put into wrapping can make the gift feel even more special to the recipient.
Step 3: Measure and Cut the Wrapping Paper
To ensure a clean and professional look, measure the wrapping paper according to the size of the gift. A common mistake is cutting the paper too small, which can lead to a frustrating wrapping experience. Here's how to do it:
- Place the gift in the center of the wrapping paper.
- Bring one side of the paper over the gift and tuck it underneath.
- Repeat with the other side and ensure it overlaps slightly.
- Cut the paper, leaving a few extra inches on each side for folding.
Step 4: Wrap the Gift Neatly
With the paper cut, it's time to wrap the gift. Follow these steps for a polished finish:
- Lay the gift face down on the wrapping paper.
- Fold the paper over the sides, securing it with tape as you go.
- For a clean edge, fold the corners of the paper before taping them down.
- Double-check that the wrapping is tight and smooth.
Make sure to check for any gaps or loose areas that may need extra tape for a snug fit.
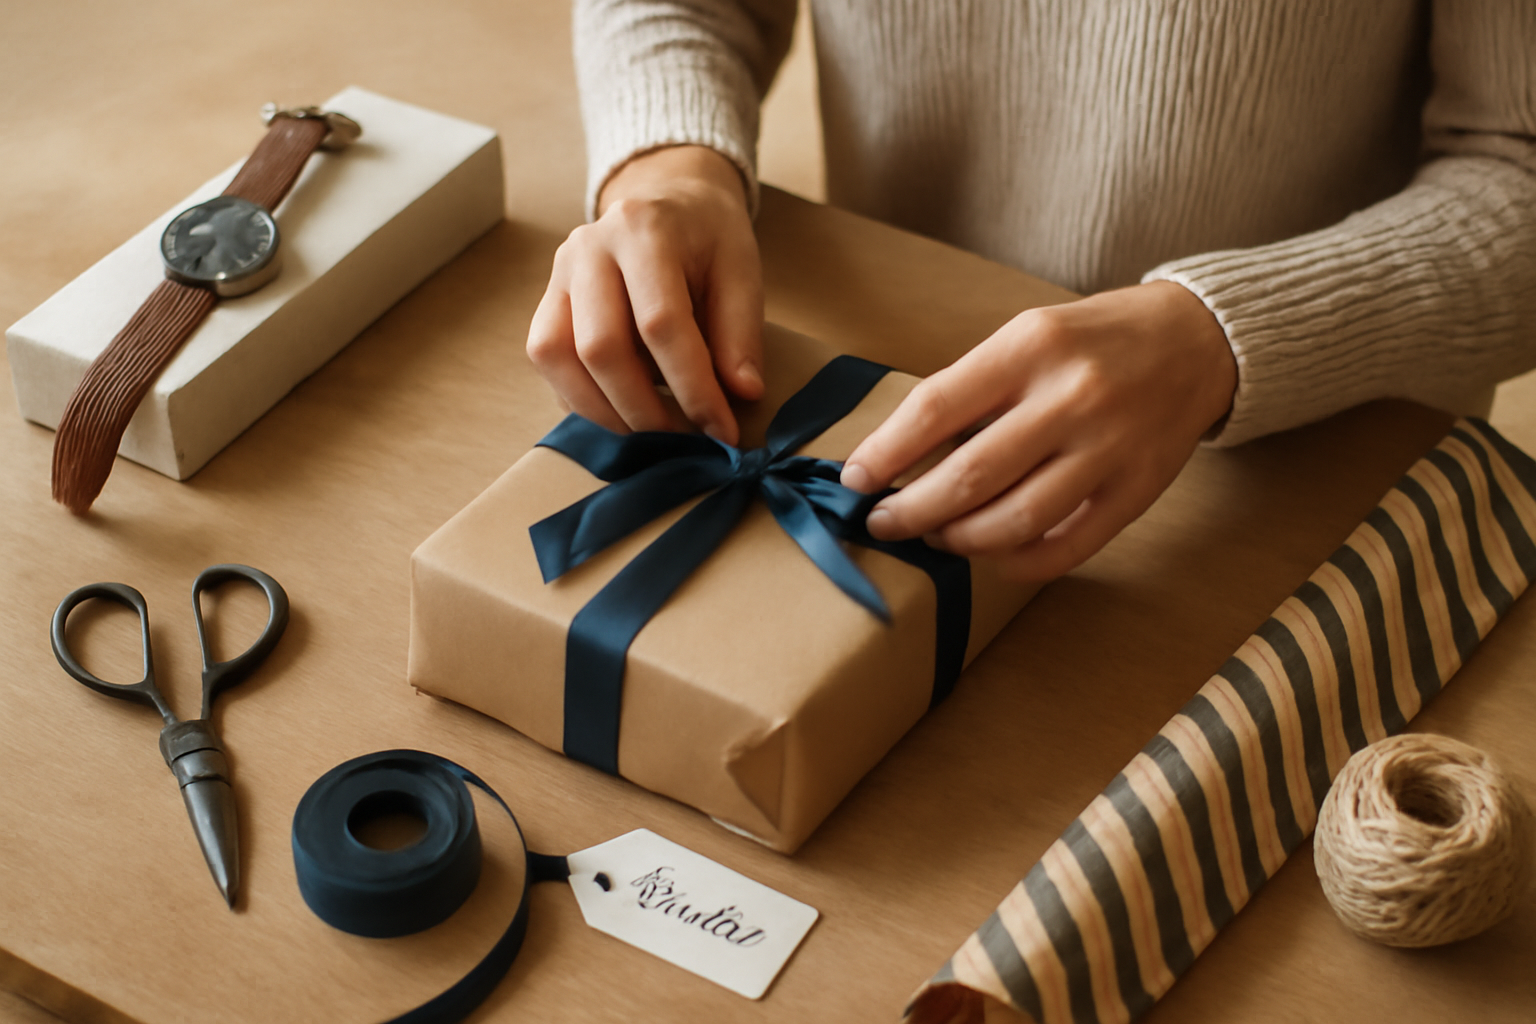
Step 5: Add a Personal Touch with Ribbons and Tags
Ribbons and gift tags can elevate your wrapping game to the next level. Here's how to add those personal touches:
- Choose a ribbon that complements your wrapping paper.
- Cut a length of ribbon and tie it around the gift, making a bow on top.
- Attach a gift tag with a heartfelt message-this is where you can express your feelings or share a memory.
- For a fun twist, consider adding small embellishments like charms or decorative clips that resonate with the recipient.
Step 6: Common Mistakes to Avoid
Even the best gift-wrappers can make mistakes. Here are some common pitfalls to watch out for:
- Using the wrong size of wrapping paper-too small can lead to tears and gaps. Always measure your gift before cutting the paper. A good rule of thumb is to ensure the paper extends at least 2 inches beyond the edges of the gift on all sides.
- Not securing the edges properly, which can make the gift look sloppy. Use double-sided tape for a cleaner look, and ensure all corners are neatly folded and secured. Consider using a glue stick for additional hold on tricky areas.
- Forgetting to include a personal note, which can diminish the emotional impact of your gift. Take the time to write a heartfelt message, even if it's just a few sentences. A personal touch can make your gift unforgettable.
Additional Common Mistakes
- Choosing the wrong type of wrapping material-using flimsy paper can result in tears, while overly thick paper can be hard to fold neatly. Opt for high-quality wrapping paper that suits the occasion and your recipient's style.
- Overcomplicating the design-while creativity is encouraged, too many embellishments can overwhelm the gift. Stick to a few simple decorations that complement the wrapping instead of competing with it.
- Neglecting to consider the recipient's preferences-if your gift is meant for a man who loves minimalism, avoid overly bright colors or patterns. Instead, choose neutral tones or simple designs that reflect his taste.
- Not checking for any hidden items-before wrapping, ensure there are no tags, receipts, or other items left inside the box that could spoil the surprise. A quick check can save you from an awkward moment later!
- Rushing the wrapping process-take your time! Wrapping a gift should be enjoyable, not a chore. If you feel rushed, you might overlook important details. Set aside enough time to do it right.
Checklist for Perfect Wrapping
To help avoid common mistakes, here's a quick checklist to follow:
- Measure your gift and choose the right size paper.
- Gather all necessary supplies: wrapping paper, scissors, tape, ribbon, and a pen for the note.
- Secure all edges and corners neatly with tape or glue.
- Include a personal note that reflects your feelings.
- Double-check for hidden items inside the gift box.
- Take your time and enjoy the wrapping process!
By being mindful of these common mistakes and following the checklist, you can ensure your personalized gifts are beautifully wrapped and ready to impress. Happy wrapping!
Step 7: Final Touches and Presentation
The presentation is key! Once you've wrapped the gift, take a moment to inspect it. Ensure the ribbon is straight, and the tag is legible. If possible, consider placing the gift in a decorative bag or box that can be reused. This not only adds an extra layer of presentation but also aligns with thoughtful gifting.
Inspecting Your Wrapping
Before you finalize your gift wrapping, go through a quick checklist to ensure everything looks perfect:
- Check the Corners: Make sure the corners are neatly folded and taped down. Crumpled or uneven corners can detract from the overall look.
- Even Ribbon Placement: The ribbon should be centered and evenly spaced. If you're using multiple ribbons or bows, ensure they complement each other in color and style.
- Legible Tag: Write the recipient's name clearly on the tag. Use a pen that contrasts well with the background color of the tag for easy readability.
- Secure All Edges: Ensure all edges of the wrapping paper are securely taped down to avoid any accidental unwrapping.
Adding Decorative Elements
To enhance the visual appeal of your gift, consider adding some decorative elements:
- Natural Touch: Incorporate elements like dried flowers, pinecones, or sprigs of evergreen for a rustic look. These can be attached to the ribbon or placed on top of the gift.
- Personalized Tags: Create a custom tag that includes a personal message or an inside joke. This adds a unique touch that the recipient will appreciate.
- Fun Accents: Use themed stickers or washi tape that reflects the recipient's interests, such as sports, hobbies, or favorite colors.
Consider Alternative Packaging
Instead of traditional wrapping paper, think outside the box! Here are some ideas for alternative packaging:
- Reusable Bags: A stylish tote bag can serve as both wrapping and an additional gift. Choose a design that matches the occasion or the recipient's style.
- Boxes with Character: Find a decorative box that can be reused for storage. Look for boxes with interesting patterns or designs that reflect the recipient's personality.
- Fabric Wraps: Use a beautiful scarf or piece of fabric to wrap the gift, tying it with a knot. This not only looks unique but also gives the recipient an additional item they can use.
Common Mistakes to Avoid
Even the most experienced gift wrappers can make mistakes. Here are some common pitfalls to watch out for:
- Over-taping: While it's important to secure your wrapping, using too much tape can make it look messy. Aim for a clean finish with minimal tape.
- Ignoring the Theme: Make sure your wrapping style aligns with the occasion. For example, bright colors and playful patterns work well for birthdays, while more subdued tones may be appropriate for anniversaries.
- Forgetting the Presentation: Don't rush through the final touches. Taking a few extra minutes to ensure your gift looks polished can make a big difference in the recipient's experience.
Final Presentation Tips
Once everything is in place, consider how you will present the gift. Here are some final tips:
- Hand Delivery: If possible, hand the gift directly to the recipient. This adds a personal touch that enhances the experience.
- Gift Opening Atmosphere: Create a fun atmosphere for the gift opening. Consider adding a little flair, like a special place setting or a small gathering, to make the moment memorable.
- Capture the Moment: Don't forget to take pictures during the gift-giving moment! These memories can be cherished and shared later.
With these final touches and presentation ideas, your personalized gift will not only look fantastic but also convey the thought and care you put into it. Remember, the effort you invest in the wrapping is just as important as the gift itself!
Conclusion
Wrapping personalized gifts for him doesn't have to be daunting. Follow these steps, and you'll create a beautifully wrapped package that reflects your thoughtfulness and care. Remember, the journey of gift-giving is just as important as the gift itself. So, gather your materials, put on your favorite tunes, and enjoy the wrapping process! Your next step? Start gathering your supplies and pick the perfect wrapping paper that fits your gift's personality.
Final Steps for a Flawless Wrap
Once you have your materials ready, it's time to dive into the final steps. Here's a quick checklist to ensure you don't miss anything:
- Choose Your Wrapping Paper: Select a paper that resonates with the recipient's personality. For instance, if he loves sports, consider wrapping paper featuring his favorite team.
- Prepare the Gift: Ensure the gift is clean and free from any tags or stickers that could detract from the presentation.
- Measure Twice, Cut Once: Before cutting the wrapping paper, measure the gift carefully. A good rule of thumb is to have enough paper to cover the gift completely with a little extra for folding.
- Use the Right Tools: Have scissors, tape, and any decorative elements like ribbons or stickers ready to go.
- Double-Check Your Work: Before sealing everything up, take a moment to ensure the edges are neat and the paper is aligned properly.
Common Mistakes to Avoid
Even seasoned gift wrappers can make mistakes. Here are some common pitfalls to watch out for:
- Too Much or Too Little Paper: Avoid using too much paper, which can lead to a bulky look, or too little, which can leave your gift exposed. Always err on the side of caution.
- Overuse of Tape: While tape is essential, using too much can make the package look messy. Aim for a clean finish with just enough to hold everything in place.
- Ignoring the Gift's Shape: For oddly shaped gifts, don't hesitate to get creative with your wrapping technique. Use fabric or a gift bag if traditional wrapping proves too challenging.
Enhancing the Presentation
Once your gift is wrapped, consider adding some personal touches to elevate its presentation:
- Handwritten Notes: A heartfelt message can make a simple gift feel extraordinary. Write a note expressing why you chose this gift or sharing a cherished memory.
- Unique Decorations: Add a personal flair with decorative elements like custom tags, themed ribbons, or even sprigs of greenery for a natural touch.
- Layering Textures: Mix and match materials like fabric, twine, or even burlap to create a visually appealing layered look.
In conclusion, the art of wrapping personalized gifts for him is not just about the final product but the love and thought you put into it. By following these steps and avoiding common mistakes, you can create a stunning presentation that enhances the gift itself. So, gather your supplies, embrace your creativity, and enjoy the process of making your gift truly memorable!