Nothing says "I love you" quite like a homemade gift, especially when it comes to Mother's Day or any special occasion. Crafting a DIY gift for Mom not only showcases your creativity but also adds a personal touch that store-bought items simply can't match. Whether it's a heartfelt keepsake or a practical item she can use every day, the thought behind a DIY project makes it truly special. finding the right gift.
This guide will walk you through the process of creating a memorable DIY gift for Mom, complete with easy-to-follow steps, common mistakes to avoid, and a handy checklist to ensure you have everything you need. Let's dive into the world of thoughtful gift ideas that will brighten her day! creative ways to personalize.
Table of Contents
Step 1: Choose Your Gift Idea
The first step in making a DIY gift for Mom is to decide what you want to create. Here are a few ideas to inspire you:
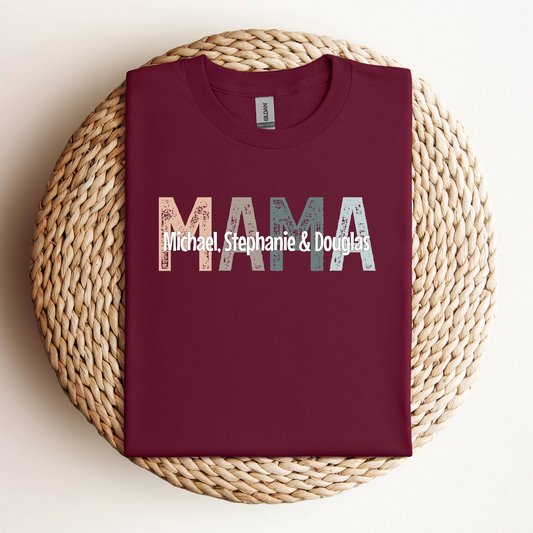
- Personalized Coquette Mug: A ceramic keepsake mug that she can use daily, customized with a special message or design. Consider using non-toxic ceramic paint or markers to add her name, a favorite quote, or a fun doodle that represents a shared memory.
- Photo Album: A scrapbook filled with cherished memories and notes that reflect your journey together. You can incorporate printed photos, decorative paper, stickers, and handwritten captions to make it truly unique. Think about including ticket stubs, notes, or other memorabilia that remind you of special moments.
- Handmade Jewelry: Simple bracelets or necklaces that she can wear and show off. Use materials like beads, wire, and charms that resonate with her style. You could even create a piece that symbolizes your relationship, such as birthstones representing family members or charms that reflect her interests.
- Custom Candle: A scented candle made with her favorite fragrance, complete with a personal label. Choose a scent that reminds you of her or a special time you shared. You can create a label with a heartfelt message or a funny inside joke that will bring a smile to her face each time she lights it.
Think about her interests, hobbies, and what would make her feel appreciated. Choosing something meaningful will make the process more enjoyable and the gift more cherished. To help you narrow down your options, consider the following steps:
Reflect on Her Personality
Take a moment to think about what makes your mom unique. Is she a coffee lover who enjoys her morning brew? Perhaps she has a green thumb and loves gardening, or maybe she adores sentimental keepsakes that remind her of family moments. Jot down a few notes about her preferences and personality traits to guide your decision.
Consider Practicality vs. Sentimentality
Decide if you want your gift to be practical, sentimental, or a mix of both. For example, a personalized mug is practical and can be used daily, while a scrapbook is more sentimental and serves as a keepsake. Balancing both aspects can lead to a gift that she will treasure and use.
Brainstorm and List Ideas
Once you have a clear understanding of her preferences, brainstorm a list of potential gift ideas. Aim for at least five options, and don't hesitate to think outside the box. You might even combine elements from different ideas. For example, you could create a custom candle that matches the theme of a photo album filled with memories of her favorite places.
Seek Feedback
If you're unsure about your choice, consider asking other family members or friends for their input. They might have insights into what she would love or may even suggest ideas you hadn't thought of. Just be careful not to reveal your plans if you want to keep it a surprise!
Common Mistakes to Avoid
- Ignoring Her Preferences: Always tailor your gift to her likes and dislikes. Avoid creating something that you think is cool but she may not appreciate.
- Overcomplicating the Idea: Sometimes, simple is better. Don't feel pressured to create something elaborate if a straightforward idea will resonate more with her.
- Forgetting the Personal Touch: Whatever you choose, make sure to add a personal touch. This could be a heartfelt note, a special design, or an inside joke that only you two share.
By following these steps and avoiding common pitfalls, you'll be well on your way to selecting a thoughtful DIY gift that your mom will cherish for years to come. Remember, the thought and effort you put into the gift will shine through, making it all the more meaningful.
Step 2: Gather Your Supplies
Once you've decided on a gift idea, it's time to gather your materials. Depending on your chosen project, you might need:
- Crafting materials (paper, fabric, beads, etc.)
- Tools (scissors, glue, paintbrushes, etc.)
- Personalization items (markers, stamps, photo prints, etc.)
- Packaging supplies (boxes, wrapping paper, ribbons, etc.)
Make sure to check your supplies against a list to avoid last-minute runs to the store. This step is crucial to ensure a smooth crafting experience.
Creating a Detailed Supply Checklist
To make your supply gathering efficient, create a detailed checklist based on your specific project. Here's how:
- Break Down Your Project: Identify each component of your gift. For example, if you're making a scrapbook, list out pages, embellishments, and photos needed.
- Research Your Materials: Look up tutorials or guides related to your project. They often provide a comprehensive list of supplies.
- Check What You Have: Before heading to the store, look through your craft supplies at home. You might be surprised by what you already own!
- Organize by Category: Group your list into categories (e.g., crafting materials, tools, personalization items). This will help you shop more efficiently.
Common Mistakes to Avoid
While gathering supplies, it's easy to overlook some essentials. Here are some common pitfalls and how to avoid them:
- Underestimating Quantities: Always buy a little more than you think you'll need, especially for items like glue or paint. You don't want to run out mid-project!
- Ignoring Quality: Opt for quality materials, especially for items that will hold sentimental value. Cheap supplies can lead to a disappointing final product.
- Overcomplicating the Project: Stick to your original idea and avoid adding too many elements that could complicate the crafting process.
- Forgetting Personal Touches: Don't skip on personalization items. They make your gift unique and special-think about what represents your relationship with your mom.
Examples of Supplies for Popular DIY Gifts
Here are some examples of supplies you might need for various popular DIY gifts:
-
Personalized Photo Album:
- Photo prints
- Decorative paper
- Stickers and embellishments
- Adhesive
- Markers for captions
-
Handmade Jewelry:
- Beads and charms
- Jewelry wire or string
- Tools for cutting and bending
- Clasps and earring hooks
-
Custom Mug:
- Plain ceramic mug
- Porcelain paint or markers
- Stencils for design
- Oven for setting the paint
By carefully gathering your supplies and avoiding common mistakes, you'll set yourself up for a successful and enjoyable crafting experience. Happy crafting!
Step 3: Create Your Gift
Now comes the fun part! Follow these basic crafting tips to create your DIY gift:
Follow Instructions Carefully
For projects with specific instructions (like mug painting), read through the entire process before starting. This will help you understand each step and avoid mistakes. Here are some additional tips:
- Gather Your Materials: Before you start, ensure you have all the necessary materials at hand. This prevents interruptions during the crafting process.
- Watch Tutorials: If available, watch video tutorials related to your project. Seeing someone else complete the project can provide clarity on tricky steps.
- Make Notes: Jot down important steps or tips as you read through the instructions. This can be especially helpful for complex projects.
Take Your Time
Rushing can lead to errors. Take your time to ensure each part of the gift is crafted thoughtfully. Remember, this is a labor of love! Here are some strategies to help you pace yourself:
- Set a Timer: If you find yourself getting distracted, set a timer for focused crafting sessions. For example, dedicate 30 minutes to crafting followed by a 5-minute break.
- Break It Down: If your project is large or complex, break it down into smaller tasks. For instance, if you're making a scrapbook, focus on one page at a time.
- Enjoy the Process: Play your favorite music or listen to a podcast while you craft. This can make the experience more enjoyable and help you relax.
Personalize It
Whether you're adding a funny quote to a mug or decorating a scrapbook page, make sure to include personal elements that resonate with your relationship with her. Consider these personalization ideas:
- Use Inside Jokes: Think of funny moments or phrases that only you and your mom share. Incorporating these can make your gift truly special.
- Include Photos: For projects like scrapbooks or calendars, add photos that capture cherished memories together. This visual element adds a personal touch.
- Handwritten Notes: Adding a heartfelt note or a personal message can elevate your gift. Write down why you chose this specific gift and what she means to you.
As you create, remember that the thought and effort you put into your gift will shine through. Enjoy the crafting process, and don't hesitate to let your creativity flow!
Step 4: Avoid Common Mistakes
Even the most seasoned crafters make mistakes, but you can steer clear of common pitfalls:
- Not Planning Ahead: Always have a clear plan before you start crafting. Take the time to outline your project, gather materials, and create a timeline. Consider making a checklist of supplies needed, and ensure you have everything on hand to avoid last-minute runs to the store. For example, if you're making a personalized photo album, decide on the layout and the number of photos beforehand to streamline the process.
- Choosing Difficult Techniques: If you're new to DIY, stick to simpler projects to avoid frustration. Research various techniques and choose one that matches your skill level. For instance, if you're considering sewing, start with a simple pillowcase rather than a complex garment. You can gradually work your way up to more challenging projects as your confidence grows.
- Forgetting to Clean Up: Keep your workspace tidy to avoid accidents and frustration while crafting. Set aside a few minutes at the end of each crafting session to clean up any mess. This not only keeps your workspace organized but also helps you locate tools and materials more easily for your next project. Consider using storage bins or labeled containers to keep similar items together, making it easier to find what you need when you start your next DIY gift.
Additional Common Mistakes to Watch For
- Ignoring Safety Precautions: Always prioritize safety when working with tools or materials. Use protective gear such as gloves and goggles when necessary, especially when handling sharp objects or toxic substances like glue or paint. Familiarize yourself with the instructions of any tools you are using to avoid injuries.
- Overcomplicating Designs: While creativity is encouraged, overcomplicating your design can lead to stress and disappointment. Keep your designs simple, especially if you're pressed for time. A well-executed simple design often has more impact than a complicated one that feels rushed. For example, a handwritten note or a simple decorative border can add a personal touch without overwhelming the project.
- Neglecting Personal Touches: Remember that the essence of a DIY gift lies in its personal touch. Avoid generic designs; instead, incorporate elements that reflect the recipient's personality or interests. For instance, if your mom loves gardening, consider adding a small plant or garden-themed decorations to your gift. This makes the gift more meaningful and shows that you've put thought into it.
Checklist for Avoiding Mistakes
To help you stay on track, here's a quick checklist:
- Outline your project and gather materials.
- Choose a project that matches your skill level.
- Set up a clean, organized workspace.
- Prioritize safety with appropriate gear.
- Keep your designs simple and personal.
- Take breaks to avoid burnout and maintain creativity.
By keeping these common mistakes in mind and following this checklist, you can enhance your crafting experience and create a memorable DIY gift for your mom that she will cherish forever.
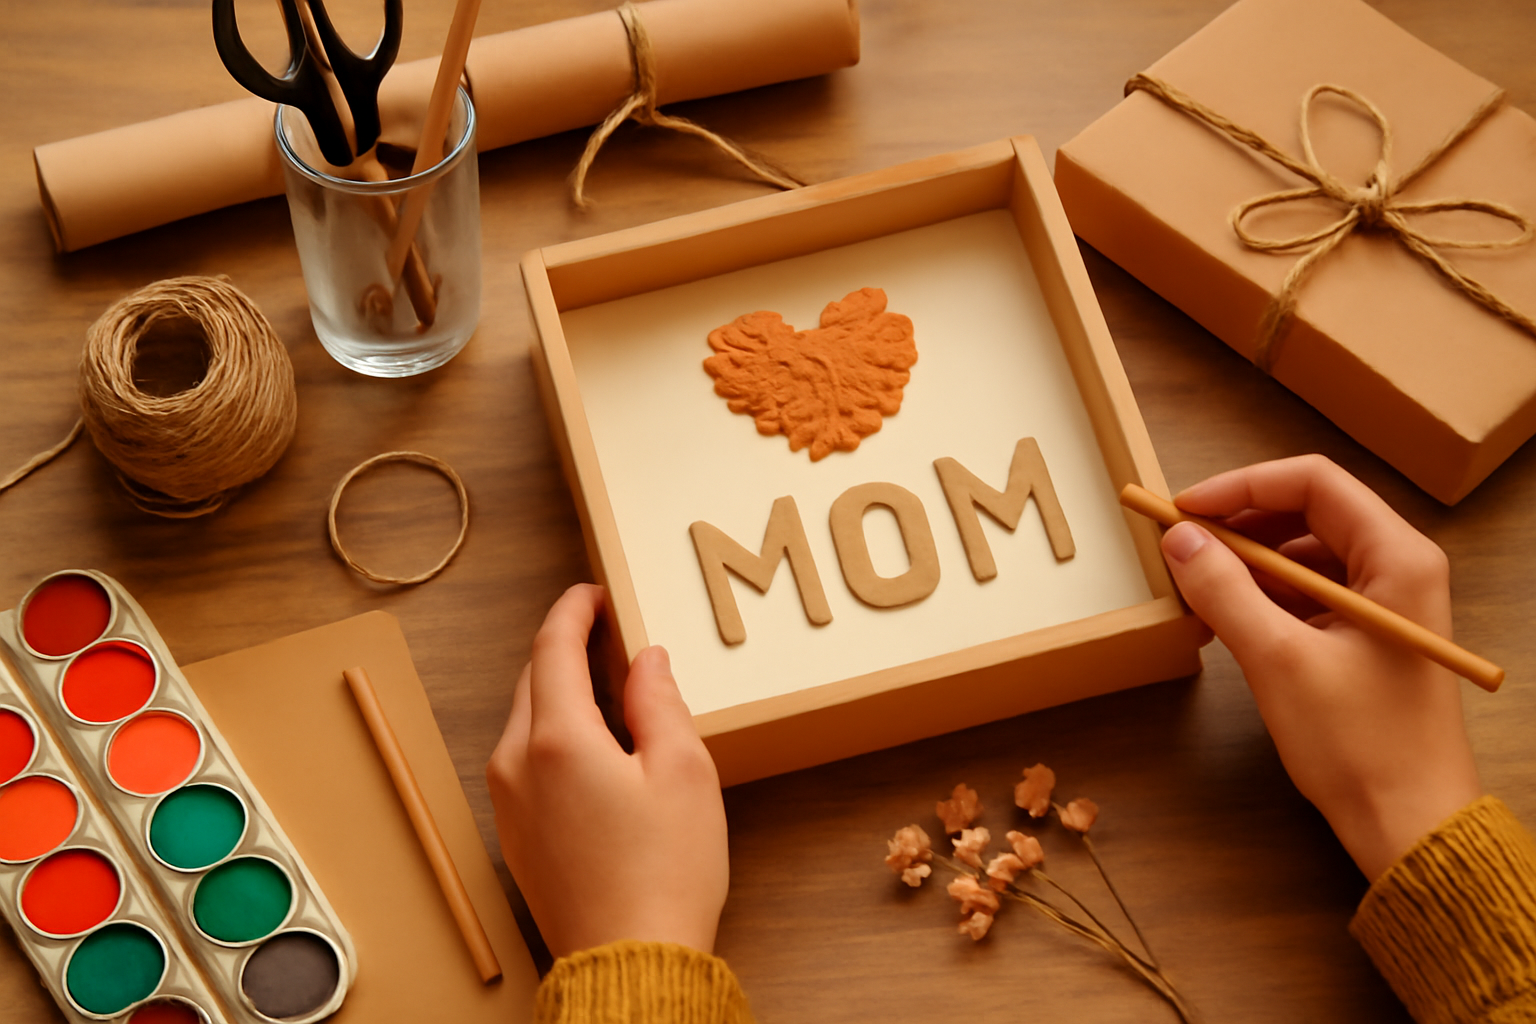
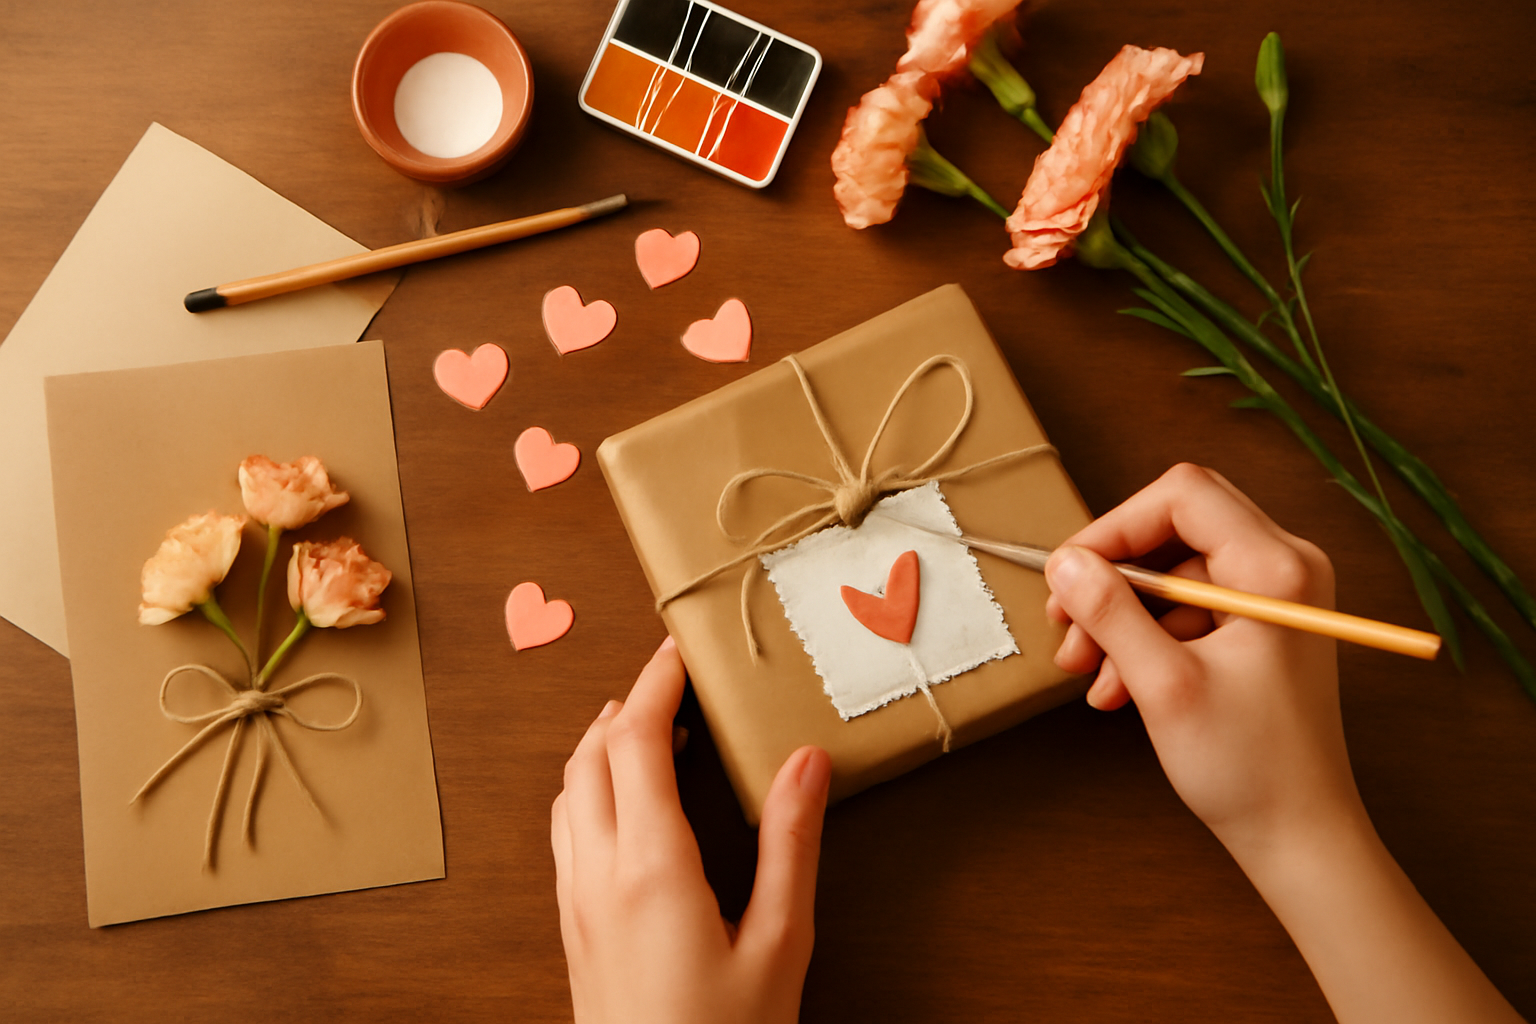
Step 5: Package Your Gift Thoughtfully
The presentation of your gift is just as important as the gift itself. A beautifully packaged gift can elevate the entire experience and show your mom just how much you care. Here are some tips for packaging:
- Use beautiful wrapping paper or a decorative box. Choose colors and patterns that reflect her personality or the theme of the occasion. For example, floral prints are great for birthdays, while elegant gold or silver can work well for anniversaries.
- Add a handwritten note expressing your love and appreciation. Take the time to write a heartfelt message. Share a memory or express why you chose this gift for her. This personal touch can make the gift even more meaningful.
- Consider including a small additional item, like a flower or a treat, to make it even more special. A single flower tucked into the wrapping or a box of her favorite chocolates can add an extra layer of thoughtfulness.
To ensure your gift looks its best, follow these practical steps:
Gather Your Supplies
Before you start wrapping, gather everything you need:
- Wrapping paper or a decorative box
- Scissors
- Tape or glue
- Ribbons or twine for embellishment
- Tags or cards for your handwritten note
- Optional: Decorative items like stickers, stamps, or dried flowers
Step-by-Step Packaging Process
- Choose Your Base: Decide whether you want to wrap the gift or place it in a decorative box. If wrapping, cut a piece of wrapping paper large enough to cover the entire gift.
- Wrap the Gift: Place the gift in the center of the wrapping paper. Fold the sides over the gift and secure with tape. Make neat corners by folding the edges in before sealing them down.
- Add a Personal Touch: Write your note and attach it to the gift. You can use a decorative tag or simply tuck it under the ribbon. Consider using colored pens or markers to make the note stand out.
- Embellish: Use ribbons, twine, or other decorative items to add flair. A simple bow can make a significant impact. You can also attach small charms or flowers for added charm.
- Final Check: Look over your gift to ensure everything is secure and looks polished. Make any adjustments to the wrapping or decorations as needed.
Common Mistakes to Avoid
- Rushing the Process: Take your time to ensure everything looks good. A rushed job can lead to tears in the paper or uneven corners.
- Overdoing the Decorations: While embellishments can enhance a gift, too many can make it look cluttered. Aim for a balance that feels elegant and thoughtful.
- Forgetting the Note: A gift without a personal message can feel incomplete. Make sure to include a note that expresses your feelings.
Personalized gifts for her deserve to be presented beautifully, so don't skip this step! Thoughtful packaging not only enhances the gift but also creates anticipation and excitement. Your mom will appreciate the effort you put into making her gift special from start to finish.
Step 6: Present Your Gift
Finally, it's time to give your gift to Mom! Here are a few tips for making the moment memorable:
- Choose a special moment: Whether it's a family gathering or a quiet afternoon, find the right time to present your gift. Consider moments like her birthday, Mother's Day, or a simple weekend brunch. If you can, create a little ceremony around the gift-giving. This could be as simple as gathering the family to watch her open it or setting up a cozy spot at home where she can enjoy the moment.
- Share the story: When you give her the gift, share what inspired you to make it and any special memories associated with it. For example, if you created a scrapbook, talk about the moments you chose to include and why they are significant. This personal touch adds depth to the gift and shows her how much thought you put into it.
- Capture the moment: Don't forget to take a photo of her reaction-you'll cherish this memory forever! Consider setting up a designated spot for the photo, perhaps with a beautiful backdrop or in a place that holds special meaning for both of you. You can even create a little photo booth area with props related to the gift for some fun and laughter.
Additional Tips for a Memorable Presentation
- Wrap it beautifully: Presentation matters! Use wrapping paper that reflects her style or a gift bag that matches the occasion. Add a personal touch by including a handwritten note or card that expresses your feelings.
- Make it a surprise: If possible, keep the gift a secret until the moment you present it. You can create anticipation by giving her clues leading up to the big reveal. This will add excitement and make the moment even more special.
- Incorporate a theme: If the gift aligns with a particular theme (like relaxation for a spa day gift), consider creating an entire experience around it. For example, prepare a relaxing atmosphere with soft music, scented candles, and a cozy setup where she can enjoy her gift.
- Be present: When you give her the gift, ensure you are fully engaged. Put away distractions, like phones or other devices, so you can focus on the moment. This will show her that she is valued and that the gift is meaningful.
Common Mistakes to Avoid
- Rushing the moment: Take your time to enjoy the gift-giving experience. Rushing can diminish the emotional impact of the gift.
- Forgetting to express your feelings: It's easy to get caught up in the excitement, but don't forget to articulate why the gift is special to you and why you think she'll love it.
- Not considering her reaction: Pay attention to her response. If she seems overwhelmed or emotional, give her space to process her feelings. Sometimes a heartfelt reaction is more important than the gift itself.
By following these tips, you can ensure that the moment you present your DIY gift to Mom is as special and memorable as the gift itself. Celebrate the love and thoughtfulness behind your creation and enjoy the joy it brings to her heart!
Conclusion: Start Crafting Today!
Now that you have a step-by-step guide on how to make a DIY gift for Mom, it's time to roll up your sleeves and get started! Remember, the best gifts come from the heart. Whether you choose a personalized Coquette Mug or any other thoughtful presents for her, your effort and creativity will surely make her day special. Happy crafting!
Before you dive in, here are a few practical tips to ensure your DIY gift-making experience is smooth and enjoyable:
Gather Your Supplies
Make a checklist of all the materials you'll need for your chosen project. This can include:
- Crafting tools (scissors, glue, paintbrushes)
- Base materials (mugs, canvas, wood, etc.)
- Decorative items (stickers, ribbons, markers)
- Personalization materials (photos, quotes, or any sentimental tokens)
Having everything on hand will prevent last-minute runs to the store and keep your creative flow uninterrupted.
Set the Mood
Creating a comfortable and inspiring environment can enhance your crafting experience. Consider these elements:
- Play your favorite music or a podcast to keep your spirits high.
- Ensure you have good lighting to see your work clearly.
- Have snacks and drinks nearby to keep your energy up.
Embrace Imperfection
Remember, crafting is about the journey, not just the end result. If things don't turn out exactly as planned, don't stress! Here are a few common mistakes to keep in mind:
- Overthinking the design: Sometimes, simple is best. Trust your instincts.
- Rushing the drying time: Whether you're painting or gluing, give your project the time it needs to set properly.
- Forgetting to personalize: Adding a special touch, like a heartfelt note or a unique design element, can elevate your gift.
Final Touches
Once you've completed your DIY project, take a moment to assess it. Here are some final touches to consider:
- Wrap it beautifully: Use gift wrap or a creative alternative like a scarf or fabric to present your gift in style.
- Add a heartfelt note: A personal message can make your gift even more meaningful. Share why you chose this gift and what she means to you.
- Consider the presentation: If your gift is something she can use, think about how to present it in a way that showcases your effort, like including a small display or a related item.
With these tips in mind, you're all set to create something truly special for Mom. Don't forget to enjoy the process and let your creativity shine. Happy crafting!

Related Posts