Finding the perfect gift for your sister is just the beginning; how you present it can make it even more special! Wrapping a gift creatively not only showcases your thoughtfulness but also adds an element of surprise and excitement. Whether it's for her birthday, an anniversary, or just because, a unique presentation can elevate the experience.
In this guide, we'll explore various creative wrapping techniques that are easy to execute and sure to impress. From using unconventional materials to adding personal touches, you'll discover how to make your gift stand out in a delightful way.
Table of Contents
Step 1: Choose the Right Materials
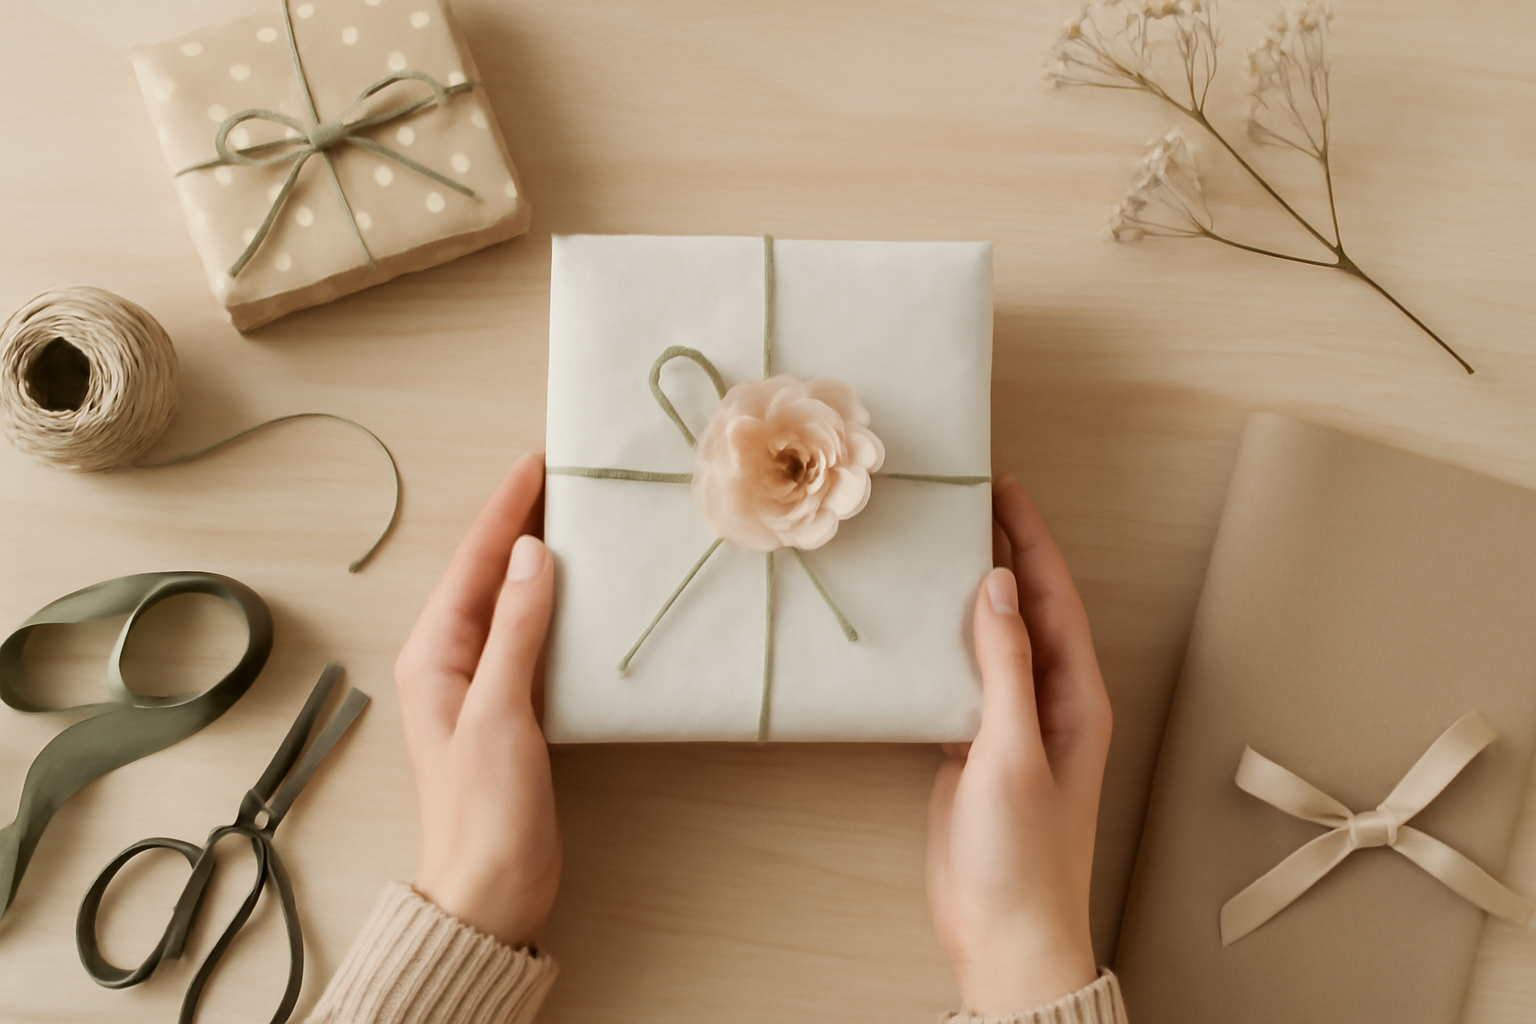
The first step in wrapping a gift creatively is selecting the right materials. Think beyond traditional wrapping paper. Here are some ideas to consider: Ultimate Guide to Finding the Perfect Sister Gift.
Alternative Wrapping Options
- Fabric: Use a beautiful piece of fabric or a scarf to wrap your gift. This can also double as a part of the gift itself.
- Brown Paper: Simple and chic, brown paper can be dressed up with stamps or drawings.
- Old Maps or Newspapers: These can add a nostalgic touch and are great for eco-friendly wrapping.
Make sure to have scissors, tape, and ribbons or twine handy as well to finish off your presentation.
Step 2: Personalize the Gift
Adding a personal touch can make your gift even more meaningful. Here are some creative ideas:
Incorporate Photos or Memories
Attach a small photo of a memorable moment shared with your sister to the gift. This could be a snapshot from a family vacation, a funny moment from a past gathering, or even a candid shot that captures her personality. You could also create a tag that shares a funny inside joke or a heartfelt message. To elevate this idea, consider:
- Photo Collage: Create a mini collage of photos that represent various stages of your relationship. This can be printed on a small card or even framed as part of the gift.
- Memory Jar: Along with the gift, include a jar filled with small notes that describe your favorite memories together. Each note can be a different moment that makes you smile.
- Customized Calendar: Compile photos into a personalized calendar that highlights shared experiences, with each month featuring a different memory.
Use Custom Labels
A personalized label can make your gift feel special. Consider using "this elegant mug featuring your name" for a mug gift, or even "a special mug for celebrating milestones" if it relates to a recent achievement. Here are some additional tips for creating impactful custom labels:
- Choose Unique Fonts: Use playful or elegant fonts that match your sister's personality. A whimsical font might suit a fun gift, while a classic font could be more appropriate for something elegant.
- Include a Date: If the gift is for a specific occasion, adding the date can make it even more personal. For example, "For my sister, on her 30th birthday" adds a special touch.
- Handwritten Touch: If possible, write the label by hand. This adds an intimate feel that printed labels often lack.
Personalized Gift Wrapping
Don't forget that the presentation of your gift is just as important as the gift itself. Here are some creative ways to personalize your gift wrapping:
- Custom Wrapping Paper: Design your own wrapping paper using a digital tool, or create a pattern that includes inside jokes, favorite colors, or memorable quotes.
- Fabric Wrap: Use a beautiful scarf or a piece of fabric that your sister loves as a unique wrapping option. This not only wraps the gift but can also be used as part of her wardrobe.
- Decorative Tags: Create decorative tags that match the theme of the gift. You can use craft supplies to make them unique, adding elements like glitter, washi tape, or even dried flowers.
Gift Experiences
Sometimes, the best gifts are experiences rather than physical items. Consider gifting your sister an experience that you can enjoy together. Here are some ideas:
- Cooking Class: If she loves cooking, find a local class that you can attend together. Personalize this gift by including a handwritten recipe card of a dish you both love.
- Concert or Show Tickets: Purchase tickets to see her favorite band or a play that she's been wanting to attend. Pair the tickets with a small item related to the event, like a band t-shirt.
- Adventure Day: Plan a day filled with her favorite activities, such as hiking, visiting a museum, or trying out a new café. Create a personalized itinerary for the day as part of the gift.
By incorporating these personalized touches, you not only enhance the gift itself but also strengthen the bond you share with your sister. The effort you put into personalizing her gift will show her just how much you care, making the moment even more special.
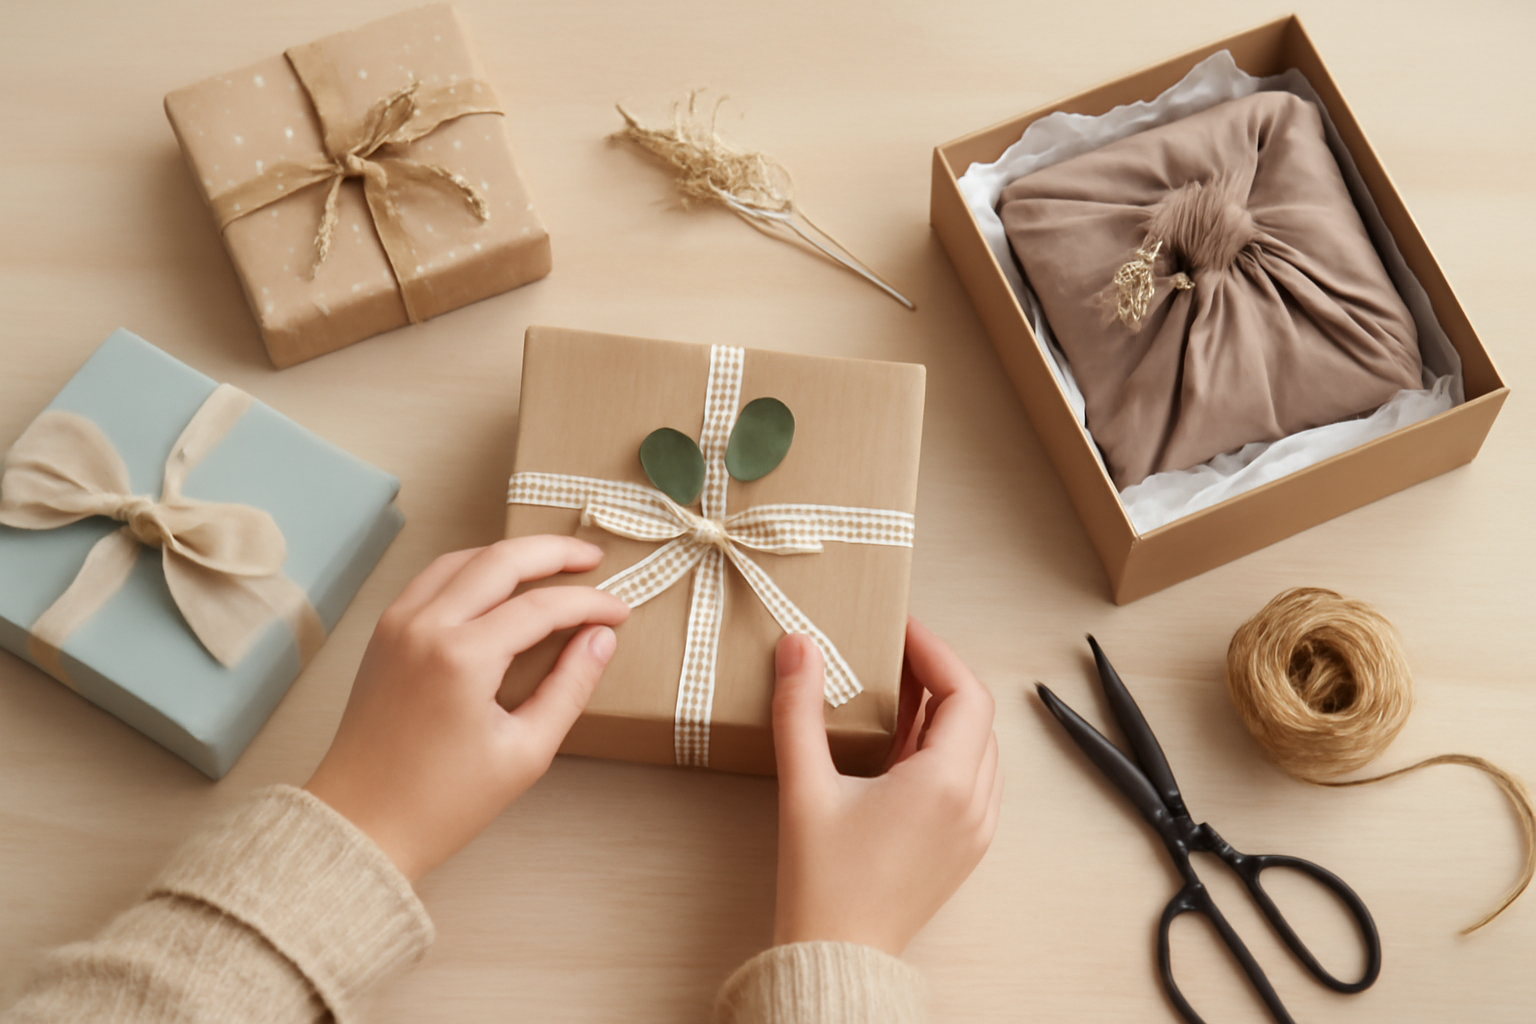
Step 3: Master the Art of Wrapping
Now that you have your materials and personal touches ready, it's time to wrap! Follow these tips for a flawless finish:
Wrap Neatly
Ensure your gift is wrapped tightly and neatly. Fold the edges in for a clean look and secure with tape. Here's a step-by-step guide to achieving that perfect wrap:
- Measure Your Paper: Before cutting, place your gift box on the wrapping paper and measure enough paper to cover all sides with a bit of overlap. A good rule of thumb is to have the paper extend about 2 inches beyond the edges of the box.
- Cut Straight: Use sharp scissors for a clean cut. If possible, use a cutting mat or a ruler to guide your cuts for straight edges.
- Position the Gift: Place your gift face down on the wrapping paper. Bring one side of the paper over the gift and fold it down, then secure it with tape.
- Fold the Ends: For the ends, pinch the sides of the paper, fold them inward, and then fold down the top flap. Secure with tape for a tidy finish. Repeat on the other end.
Common mistakes to avoid include using too little paper, which can lead to awkward gaps, and rushing the folding process, which can result in uneven edges. Take your time for a polished look!
Experiment with Ribbons and Embellishments
Ribbons can make a huge difference! Consider using multiple ribbons in different textures or colors. Here are some ideas to elevate your wrapping:
- Layering Ribbons: Use a combination of satin, burlap, and twine. Start with a wide ribbon as a base and layer thinner ribbons on top for a more dynamic look.
- Color Coordination: Choose ribbon colors that complement the wrapping paper. If your paper is patterned, select solid colors from within the pattern to tie everything together.
- Creative Knots: Instead of a traditional bow, try a creative knot or a cascading ribbon effect. This can add a unique flair to your gift.
Additionally, embellishments can personalize your gift even further:
- Dried Flowers: Secure a small bunch of dried flowers to the ribbon. They add a rustic charm and a touch of nature.
- Beads and Charms: String beads or attach a charm that holds special meaning for your sister. This can be a lovely keepsake she can use later.
- Handwritten Tags: Instead of store-bought tags, create personalized tags from cardstock. Write a heartfelt message or an inside joke that will make her smile.
By experimenting with different ribbons and embellishments, you can create a visually appealing gift that reflects your sister's personality and shows the thought you put into it.
Step 4: Create an Eye-Catching Presentation
Your wrapping should be as much a part of the gift as the item itself. Here are additional ideas:
Layering Techniques
Try layering different materials to create a unique and visually appealing presentation. For example, wrap the gift in a soft fabric, such as a scarf or a piece of colorful felt, then add a layer of brown kraft paper for a rustic touch. Finish with a vibrant ribbon or twine to tie it all together. Consider using contrasting colors and textures-like a shiny satin ribbon over a matte paper-to really make your gift pop. Here's a simple checklist to help you layer effectively:
- Choose a base material (fabric, paper, or even a gift bag).
- Select a contrasting layer (like tissue paper or wrapping paper).
- Add embellishments (like ribbons, flowers, or tags).
- Ensure all layers are securely attached to avoid any mishaps during transport.
Remember, the key is to create depth. Mixing patterns and colors can be tricky, so consider testing a few combinations before settling on the final look.
Use a Box
If the item is fragile or oddly shaped, consider placing it in a decorative box. This not only provides protection but also adds an element of surprise when the recipient opens it. You can wrap the entire box or just use a beautiful lid and let the sides showcase the contents. Here are some tips for using boxes effectively:
- Choose the Right Size: Ensure the box is appropriately sized for the gift. Too much extra space can lead to shifting and damage, while a box that's too small can ruin the presentation.
- Decorate the Box: Use wrapping paper, fabric, or even paint to customize the box. Adding a personal touch, like a monogram or a meaningful quote, can make it even more special.
- Add a Personal Note: Tuck a handwritten note inside the box. This adds a thoughtful touch and makes the gift more meaningful.
- Seal it with Style: Use decorative tape or stickers to seal the box, making it look polished and intentional.
Lastly, don't forget to consider the unboxing experience. A well-wrapped box can build anticipation and excitement, making the moment even more memorable.
Step 5: Avoid Common Mistakes
To ensure your wrapping is as impressive as the gift itself, keep these common mistakes in mind:
Too Much Tape
While tape is necessary, using too much can detract from the appearance. Use just enough to secure the wrapping neatly. Here are some tips to avoid overusing tape:
- Use double-sided tape: This keeps the tape hidden and gives a cleaner look.
- Consider adhesive wrapping paper: Some papers come with a sticky backing, which can eliminate the need for tape altogether.
- Secure corners only: Focus on taping the corners and edges where the paper overlaps to keep it in place without excessive tape.
Keep in mind that a well-wrapped gift should look polished, not over-taped. A good rule of thumb is to use tape sparingly, just enough to hold the paper in place without being visible.
Not Considering the Gift's Shape
Make sure to choose a wrapping method that suits the shape of the gift. For example, a round object may need a different approach than a rectangular one. Here are some strategies for wrapping various shapes:
- Rectangular Gifts: Use traditional wrapping paper, ensuring you cut enough paper to cover all sides. Fold the corners neatly for a crisp finish.
- Round Gifts: Use a technique called "bunching." Place the gift in the center of the paper, gather the excess paper at the top, and secure it with ribbon or string.
- Oddly Shaped Gifts: Use a gift bag or a box if the shape is too irregular. If using paper, cut the paper into smaller sections that can be wrapped around each protruding part of the gift.
By considering the shape of the gift, you'll not only make it easier to wrap but also enhance the overall presentation.
Ignoring the Theme
When wrapping a gift, it's essential to consider the occasion and the recipient's preferences. Ignoring the theme can make the gift feel less personal. Here are some ideas to ensure your wrapping aligns with the occasion:
- Birthdays: Use bright, colorful paper and playful designs that reflect the recipient's personality or interests.
- Anniversaries: Consider elegant wrapping with soft colors or patterns that symbolize love and romance.
- Holidays: Choose festive wrapping paper that resonates with the holiday spirit, such as snowflakes for winter holidays or floral patterns for spring celebrations.
Matching the wrapping to the occasion not only enhances the gift's appeal but also shows thoughtfulness in your gift-giving approach.
Rushing the Process
Wrapping a gift should be a thoughtful process. Rushing can lead to mistakes such as uneven cuts or sloppy folds. To avoid this:
- Set aside time: Allocate a specific time for wrapping to avoid the stress of last-minute wrapping sessions.
- Practice makes perfect: If you're trying a new technique, practice on a less important gift first.
- Take breaks: If you find yourself getting frustrated, take a short break to clear your mind before continuing.
By taking your time, you'll create a more polished and thoughtful presentation that reflects the care you put into your gift.
Neglecting Personal Touches
Finally, don't forget to add personal touches that make the gift wrapping unique. Here are some ideas:
- Handwritten notes: Include a heartfelt message on a tag or card attached to the gift.
- Unique embellishments: Consider adding decorative elements like dried flowers, twine, or themed stickers that resonate with the recipient.
- Custom wrapping paper: Use paper that features a personal photo or a meaningful design that relates to the gift or occasion.
These small details can elevate your gift wrapping from ordinary to extraordinary, making the recipient feel truly special.
Step 6: Checklist for Creative Wrapping
To make sure you have everything covered, here's a simple checklist:
- Materials: Gather a variety of materials that can enhance your wrapping. Consider using:
- Fabric: Think about using old scarves or vibrant fabrics that can add texture.
- Brown paper: Recycled kraft paper can be a beautiful base for any design.
- Old maps: Perfect for a travel enthusiast, these add a unique touch.
- Ribbons: Choose different widths and textures-burlap for rustic gifts or satin for elegance.
- Scissors: Ensure they are sharp for clean cuts.
- Tape: Double-sided tape can help create a clean look without visible tape lines.
- Personal Touches: Adding personal elements can make your gift truly special. Consider:
- Photos: Attach a small photo that represents a shared memory.
- Custom labels: Use decorative tags that include the recipient's name or a special message.
- Meaningful quotes: Handwrite a quote that resonates with your relationship or the occasion.
- Wrapping Skills: Neatness matters! Here are some tips to enhance your wrapping skills:
- Layer considerations: Use layers of different materials for depth-start with a solid base and add decorative elements on top.
- Folding techniques: Practice clean folds; corners should be sharp and edges should align.
- Finishing touches: Consider adding embellishments like dried flowers or small charms to the ribbon for a polished look.
- Avoid Common Mistakes: Here are some pitfalls to watch out for:
- Use tape wisely: Avoid overusing tape; it can detract from the overall appearance. Instead, focus on strategic placements.
- Consider the shape of the gift: For odd-shaped items, think outside the box-use a box or create a fabric wrap that can conform to the shape.
- Don't rush: Take your time to ensure everything is neat; a rushed job can lead to wrinkles and uneven edges.
By following this checklist, you can ensure your gift is wrapped creatively and thoughtfully, making it a memorable experience for your sister. Happy wrapping!
Conclusion
Wrapping a gift creatively for your sister is an enjoyable process that can enhance the joy of gift-giving. By selecting unique materials, personalizing the gift, and mastering the art of wrapping, you can create a memorable presentation. Now that you have these tips, gather your materials and let your creativity flow-your sister is going to love her beautifully wrapped gift!
Final Tips for a Flawless Wrap
To ensure your gift-wrapping experience is as smooth as possible, consider the following practical tips:
- Choose the Right Paper: Opt for wrapping paper that complements the occasion and your sister's personality. Floral patterns for spring birthdays or sleek metallics for holidays can set the right tone.
- Measure Twice, Cut Once: Always measure your wrapping paper against the gift before cutting. This prevents waste and ensures you have enough paper to cover the entire gift.
- Use Quality Tape: Invest in good-quality tape that sticks well and doesn't peel off easily. Double-sided tape can give a clean look, hiding the tape from view.
- Practice Your Folding: Neat, crisp folds can elevate your gift's presentation. Take your time to fold edges neatly, and consider using a bone folder for sharper creases.
Common Mistakes to Avoid
Even the most seasoned gift wrappers can make mistakes. Here are some common pitfalls to avoid:
- Overstuffing the Gift: If your gift is too large for the paper, it can lead to awkward folds and an unprofessional look. Always choose a box or bag that fits snugly.
- Ignoring the Theme: Ensure that your wrapping style matches the occasion. A birthday gift wrapped in Christmas paper may confuse your sister and detract from the excitement.
- Neglecting the Card: A thoughtful card adds a personal touch to your gift. Don't forget to include a heartfelt message that expresses your feelings.
Examples of Creative Wrapping Techniques
Here are a few creative wrapping techniques to inspire you:
- Fabric Wrap: Use a beautiful scarf or piece of fabric to wrap your gift. This not only looks stunning but also provides your sister with an additional gift she can use.
- Map or Newspaper Wrap: For a vintage or travel-themed gift, consider using old maps or newspapers as wrapping paper. It's unique and adds a layer of personality.
- Layered Textures: Combine different materials such as kraft paper, ribbons, and twine for a textured look. Layering adds depth and visual interest to your gift.
Encouragement to Get Started
Now that you're equipped with these creative wrapping ideas and practical tips, it's time to get started! Gather your supplies, set up a cozy wrapping station, and let your imagination run wild. Remember, the effort you put into wrapping the gift will reflect your love and thoughtfulness. Your sister will appreciate not only the gift itself but also the care you took to present it beautifully. Happy wrapping!