Gift wrapping can transform even the simplest present into something extraordinary. If you're looking to add a personal touch that reflects your thoughtfulness, you've come to the right place. This guide will walk you through creative techniques to wrap a birthday gift that will impress your loved ones. finding the right gift.
Whether it's for a special milestone or just because, unique wrapping ideas can elevate your gift-giving game. Let's dive into some fun and practical steps to wrap a birthday gift creatively! birthday gift personalization.
Table of Contents
Step 1: Gather Your Materials
Before you start wrapping, make sure you have all the necessary tools. Having everything on hand will streamline the process and unleash your creativity. Here's what you'll need: The Ultimate Guide to Thoughtful Birthday Gifts.
- Wrapping paper or fabric: Choose a design that reflects the recipient's personality or the occasion. Consider using patterned paper for a festive feel or solid colors for a more elegant touch. Fabric can add a unique texture and is reusable, making it an eco-friendly option.
- Scissors: A good pair of sharp scissors is essential for clean cuts. Dull scissors can tear the paper and lead to uneven edges, which can ruin your presentation.
- Tape or glue: Double-sided tape gives a neat finish, while glue can be used for fabric wrapping. Make sure your tape is strong enough to hold the paper securely without showing through.
- Ribbons or twine: These add a finishing touch and can be used to create bows or simple knots. Choose colors that complement your wrapping paper. Ribbons can be curled for a playful look, while twine offers a rustic charm.
- Tags or cards for messages: Personalize your gift with a heartfelt message. You can buy pre-made tags or make your own from cardstock. Consider adding a fun quote or a memory you share with the recipient.
- Decorative elements (stickers, stamps, etc.): Get creative! Stickers can add a pop of color, while stamps can create unique patterns. You can also use dried flowers or leaves for a natural touch.
Additionally, consider having a few optional items on hand to enhance your wrapping experience:
- Gift boxes: If your gift is oddly shaped or fragile, a box can make wrapping easier and provide extra protection.
- Craft knife: For precision cutting, especially if you're working with thicker materials.
- Measuring tape: Useful for ensuring you cut the right amount of paper, especially for larger gifts.
Before diving in, take a moment to organize your workspace. A clean, flat surface will help you cut and wrap more efficiently. Lay out your materials so everything is easily accessible, and consider having a trash bag nearby for any scraps. This will keep your space tidy and allow you to focus on making your gift look stunning!
Step 2: Choose Your Wrapping Style
There are various styles to choose from when it comes to wrapping a gift. Consider the personality of the recipient and the occasion. Here are a few popular options, along with tips and examples to help you choose the perfect wrapping style:
Classic Wrapping
This involves traditional wrapping paper with a neat fold and a bow on top. It's timeless and elegant. Here's how to achieve the perfect classic wrap:
- Select Quality Paper: Choose a high-quality wrapping paper that matches the recipient's taste or the theme of the occasion. Look for patterns that resonate, such as floral for birthdays or metallic for anniversaries.
- Measure and Cut: Lay the gift on the paper and roll it to ensure you have enough to cover all sides. Cut the paper, leaving a few extra inches for folding.
- Fold Neatly: Start by placing the gift in the center of the paper. Fold one side over the gift, then the other, and secure with tape. Make sure the edges are crisp for a polished look.
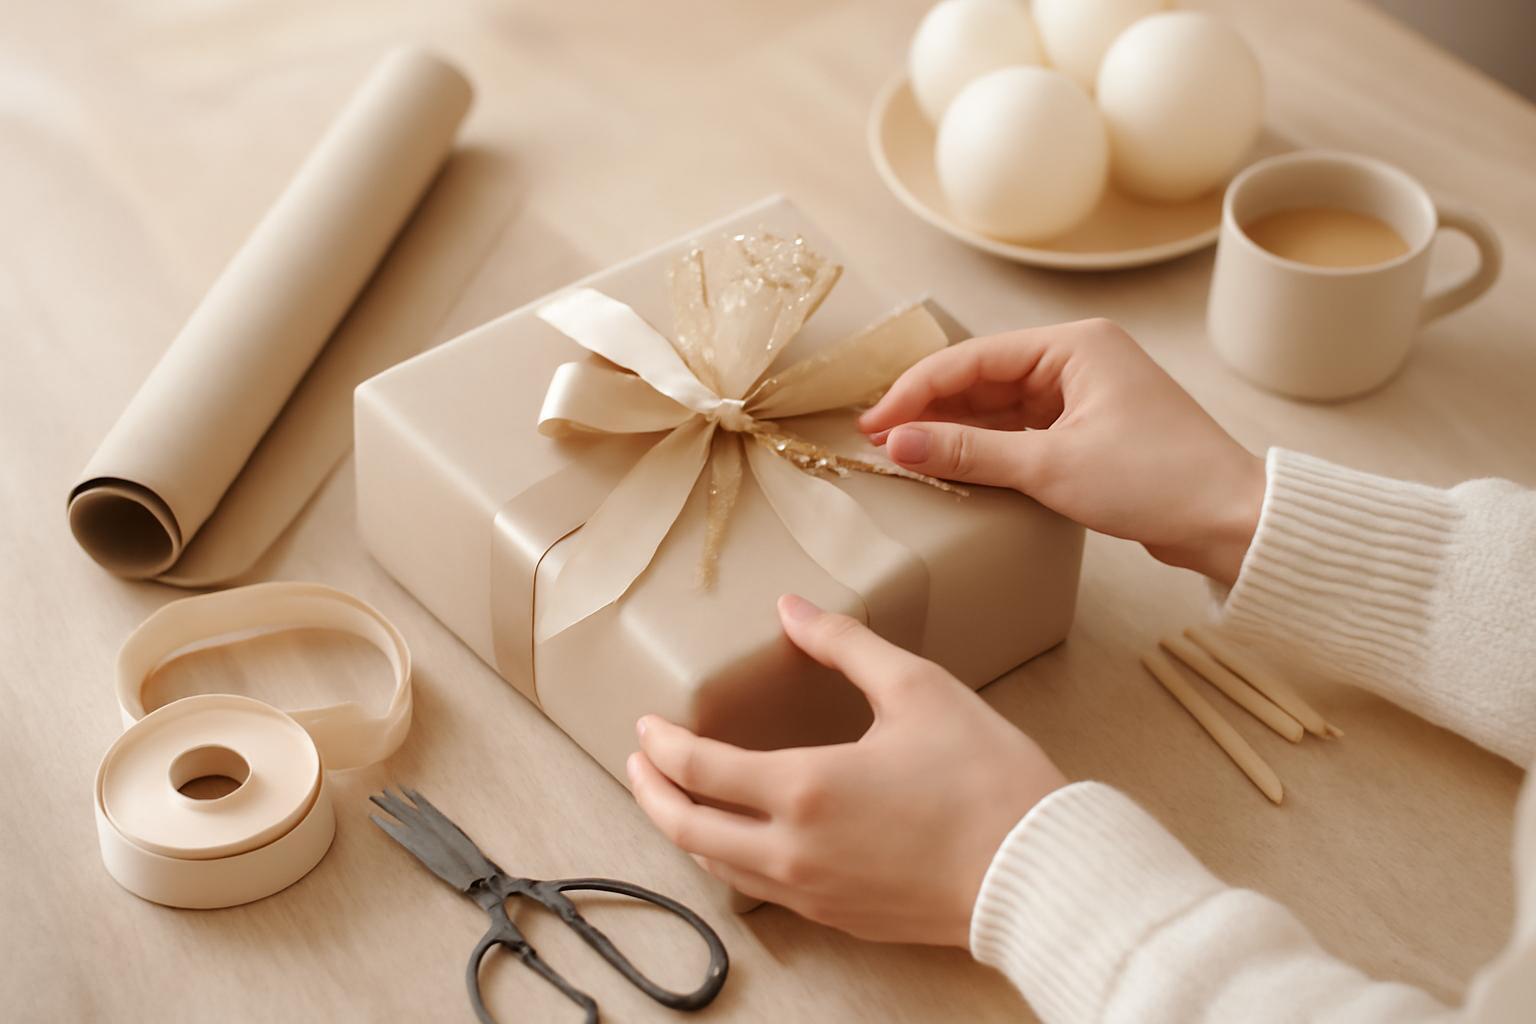
- Add a Bow: Finish with a matching bow or ribbon. You can create a simple bow or a more elaborate one, depending on your skill level and the gift's formality.
Common Mistakes: Avoid using too much tape, which can make the wrap look messy. Also, ensure the paper isn't wrinkled, as this can detract from the overall presentation.
Fabric Wrap
Using fabric, such as a scarf or a tea towel, can be a charming and eco-friendly alternative. It adds a personal touch and can be reused! Here's how to wrap a gift with fabric:
- Choose the Right Fabric: Select a fabric that complements the gift. A colorful scarf can be perfect for a birthday, while a sophisticated tea towel works well for a wedding gift.
- Wrap the Gift: Place the gift in the center of the fabric. Bring the corners of the fabric up and over the gift, tucking them in neatly to secure the contents.
- Create a Knot or Bow: Tie the fabric together with a knot or create a bow for a decorative finish. This not only secures the gift but also adds to its charm.
Examples: A beautiful floral scarf can make a lovely wrap for a birthday gift, while a chic kitchen towel can be ideal for a housewarming present. The recipient will appreciate both the gift and the wrapping!
Creative Materials
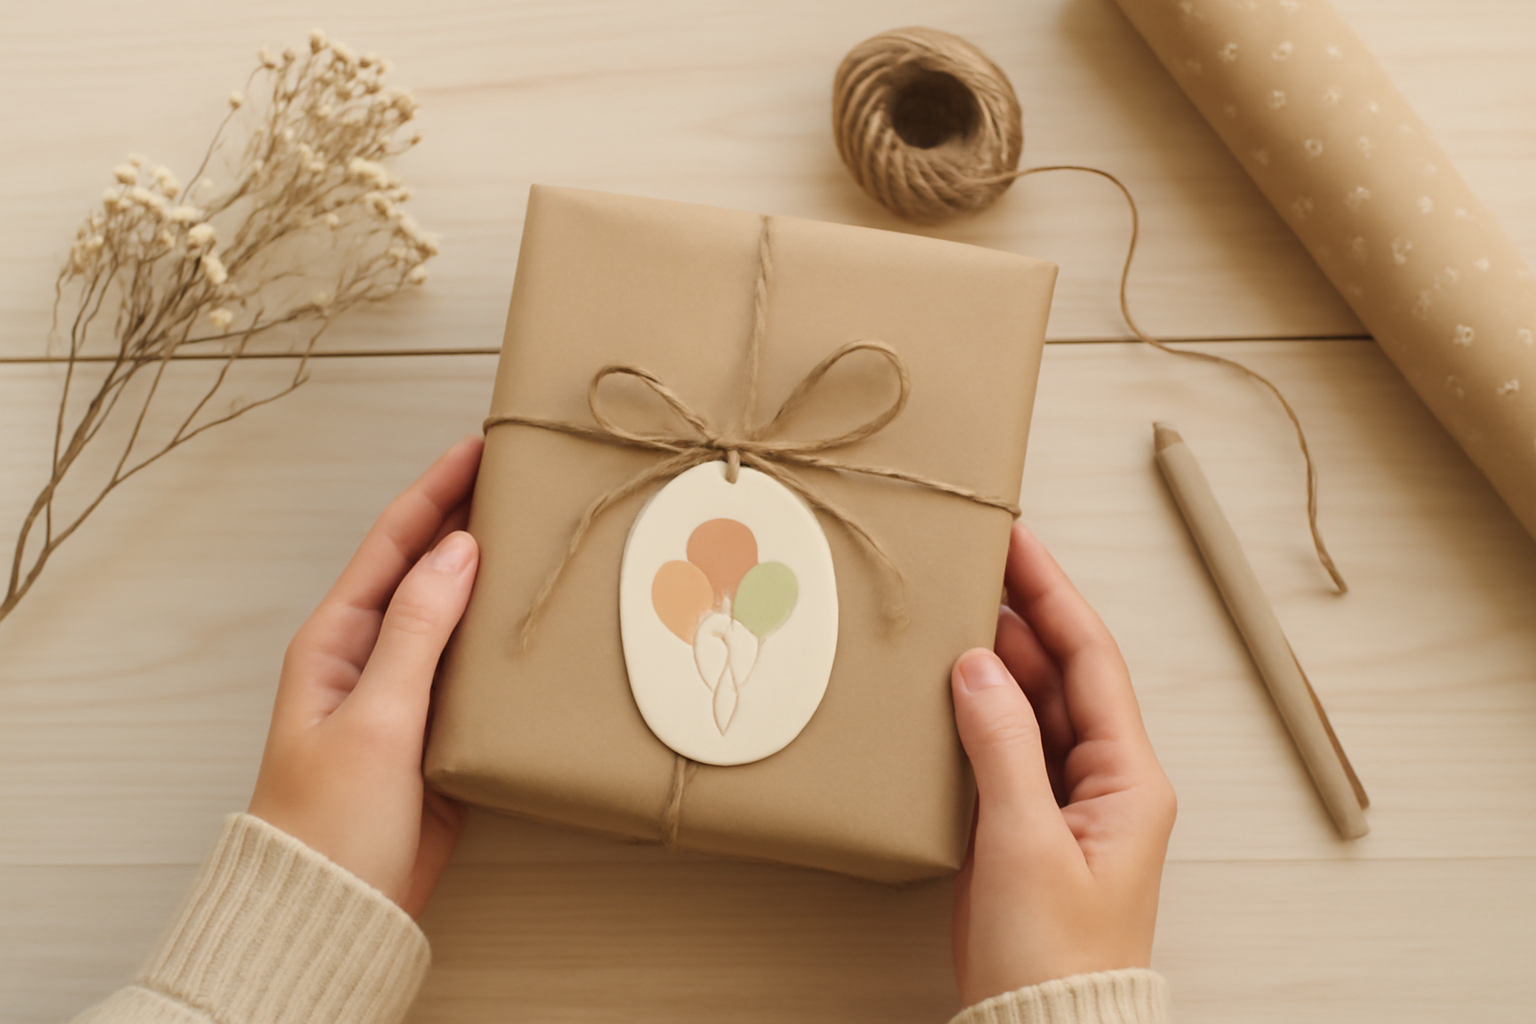
Think outside the box! Use brown kraft paper, newspaper, or even sheet music for a unique look. These materials can be easily customized with drawings or stamps. Here's how to make the most of creative materials:
- Gather Your Materials: Collect materials like kraft paper, old newspapers, or even pages from a favorite book. Ensure they are clean and in good condition.
- Customize: Use stamps, markers, or paint to personalize the wrapping. For example, you could stamp a pattern or write a heartfelt message directly on the paper.
- Wrap with Care: Just like with traditional wrapping, measure and cut your material to fit the gift. Secure the ends with tape, and consider using twine or string for a rustic touch.
Common Mistakes: Avoid using materials that are too flimsy, as they may tear easily. Also, ensure that any ink or paint is dry before wrapping the gift to avoid smudges.
Examples: A gift wrapped in newspaper can be adorned with colorful twine and a handmade tag for a fun, vintage look. Using sheet music can add a musical touch for a friend who loves music.
Step 3: Preparing the Gift
Ensure your gift is ready for wrapping. If it's oddly shaped, consider placing it in a box to make wrapping easier. Here's how to prepare:
- Secure any loose parts of the gift. Use tape or rubber bands to keep everything in place. If you're wrapping a toy with small pieces, make sure they are all accounted for and secured.
- Consider using a box to provide structure. A sturdy box not only simplifies the wrapping process but also protects the gift during transport. If you don't have a box that fits perfectly, you can use a larger box and fill the extra space with crumpled paper or bubble wrap.
- Wrap the gift in tissue paper for an added layer of protection and surprise. This is especially useful for fragile items. Choose a color that matches the occasion or the recipient's favorite color for a personal touch.
Additional Preparation Tips
Here are some additional steps to enhance your gift preparation:
- Clean the Gift: If the item is used or has been sitting around, give it a quick clean. This shows you care about the presentation and the recipient's experience.
- Include a Card: Consider including a heartfelt note or card with your gift. Write a personal message that reflects your relationship with the recipient. This adds a thoughtful touch that can make the gift even more special.
- Think About Presentation: Before wrapping, think about how the gift will look once unwrapped. If it's something that needs to be assembled, include instructions or a guide to help the recipient set it up easily.
Common Mistakes to Avoid
While preparing your gift, keep these common pitfalls in mind:
- Not Securing Loose Parts: Failing to secure loose parts can lead to a messy unwrapping experience. Make sure everything is tightly secured to avoid frustration.
- Using an Inappropriate Box: Using a box that's too large can lead to the gift shifting around inside. Always choose a box that fits snugly, and if needed, fill any gaps.
- Forgetting the Card: A gift without a card can feel incomplete. Don't forget to include a card with a personal message to enhance the emotional impact of your gift.
By taking these steps to prepare your gift, you'll ensure it's not only beautifully wrapped but also ready to delight the recipient when they finally unwrap it. A little extra effort in preparation goes a long way in making the gift-giving experience memorable.
Step 4: Wrapping Techniques
Now that you have your materials and style, it's time to wrap! Here are some techniques to make your gift stand out:
The Traditional Method
1. Lay the wrapping paper face down on a flat surface.
2. Place your gift in the center.
3. Fold one side over the gift, and secure with tape.
4. Fold the opposite side over, and tape. Then, fold in the ends and secure.
5. Add ribbon or a bow on top!
Using Fabric
1. Lay your fabric flat, with the gift in the center.
2. Bring one corner of the fabric over the gift, followed by the opposite corner.
3. Tuck in the sides and pull the remaining corners over, securing with a knot.
4. You can add embellishments like flowers or a personalized tag.
Step 5: Add Personal Touches
Make your gift truly special by personalizing it. Personal touches not only enhance the visual appeal but also convey thoughtfulness and care. Here are some ideas to ensure your gift stands out:
- Include a heartfelt card with a message. Consider writing a note that reflects your relationship with the recipient. For example, if it's a birthday gift for a friend, share a cherished memory or a funny inside joke that will bring a smile to their face.
- Use a meaningful tag that reflects your relationship. You can create custom tags using craft paper and markers, or even design them digitally. For instance, if the gift is for a sibling, you might write something like, "From your favorite sibling-forever your partner in crime."
- Decorate with small ornaments or themed accents. Think about the recipient's interests or hobbies. If they love gardening, consider adding a small seed packet or a tiny potted plant. For a book lover, you might attach a bookmark or a small book quote. These little additions can elevate the gift from ordinary to extraordinary.
Additional Personalization Ideas
- Custom Wrapping Paper: Design your own wrapping paper using photos, drawings, or messages that mean something special to the recipient. You can use online services to print custom designs or create a collage of memories.
- Photo Gifts: Incorporate a photo that holds significance. This could be a picture of a memorable moment shared together or a snapshot that represents a milestone in your relationship. You can attach it to the gift or even encase it in a small frame.
- Handmade Elements: If you have a knack for crafts, consider making something by hand to accompany the gift. This could be a knitted scarf, a piece of jewelry, or even a baked good. The effort you put into creating something unique will resonate with the recipient.
- Memory Jar: Alongside your gift, include a small jar filled with notes of favorite memories, quotes, or reasons why you appreciate the recipient. This can be a wonderful keepsake that they can revisit whenever they need a little pick-me-up.
Common Mistakes to Avoid
- Being Generic: Avoid using generic phrases or tags that lack personal connection. Tailor your message to reflect your unique relationship.
- Overdoing It: While personalization is key, be careful not to overwhelm the gift with too many decorations or notes. Keep it tasteful and cohesive.
- Forgetting the Presentation: Personal touches should enhance the overall presentation. Ensure that everything is neatly arranged and complements the main gift.
By incorporating these personal touches, your gift will not only be beautifully wrapped but will also carry a deeper meaning, making it a cherished memory for the recipient. Remember, the goal is to celebrate the relationship and create a lasting impression that goes beyond the physical gift itself.
Common Mistakes to Avoid
Even the most seasoned gift wrappers make mistakes. Here are some common pitfalls to watch out for:
- Using too much tape - it can ruin the aesthetic. Instead, aim for a clean finish by using just enough tape to secure the paper without it being overly visible. Consider using double-sided tape for a neater appearance.
- Choosing inappropriate materials for the occasion. For instance, using bright, cartoonish paper for a formal event can send the wrong message. Always consider the recipient's taste and the nature of the event when selecting your wrapping materials.
- Not measuring the paper correctly, leading to a messy wrap. To avoid this, lay the gift on the wrapping paper and ensure you have at least 2 inches of overlap on each side. A good rule of thumb is to cut the paper so that it covers the gift completely with a little extra for folding over the edges.
Additional Common Mistakes
- Ignoring the gift's shape - irregularly shaped gifts can be tricky. To wrap them neatly, consider using a box or a gift bag as a base. This will provide a structured shape that's easier to wrap.
- Forgetting to include a card - a thoughtful card can enhance the gift-giving experience. Always take a moment to write a personal message that complements your gift.
- Overcomplicating the design - while creativity is key, overly complex wraps can lead to frustration. Stick to simple techniques that look elegant without overwhelming the gift.
- Not considering the recipient's interests - wrapping a gift in paper that reflects the recipient's hobbies or passions adds a personal touch. For example, if they love gardening, consider floral-themed paper.
- Neglecting to secure the edges - loose edges can lead to a sloppy look. Make sure to fold the edges neatly and secure them properly to maintain a polished finish.
Checklist for Successful Gift Wrapping
To ensure your gift wrapping is on point, follow this handy checklist:
- Have all necessary materials ready: wrapping paper, scissors, tape, ribbon, and a card.
- Measure the gift and cut the paper accordingly.
- Wrap the gift securely, making sure to fold the edges neatly.
- Use the right amount of tape to avoid a cluttered look.
- Add a personal touch with a card and any decorative elements.
- Review your work to ensure everything looks tidy and presentable.
By being aware of these common mistakes and following the checklist, you can elevate your gift-wrapping skills and create beautifully wrapped presents that impress your loved ones. Remember, the effort you put into wrapping a gift reflects your thoughtfulness and care, making the recipient feel even more special.
Checklist for Wrapping a Perfect Gift
Use this simple checklist to ensure you have everything covered:
- Have all materials ready?
- Is the gift box or item prepared?
- Did you choose a suitable wrapping style?
- Have you personalized the gift?
- Did you avoid common mistakes?
Materials Checklist
Before you start wrapping, gather all necessary materials to avoid interruptions. Here's a detailed list:
- Wrapping paper: Choose a design that fits the occasion and the recipient's taste.
- Scissors: Ensure they are sharp for clean cuts.
- Tape: Use double-sided tape for a seamless look or regular tape for a quick fix.
- Ribbon or twine: Select a color that complements the wrapping paper.
- Gift tags: Have blank tags ready for personal messages.
- Embellishments: Consider stickers, dried flowers, or small ornaments to add flair.
Preparing the Gift
Before you start wrapping, make sure the gift is ready:
- Remove price tags: This avoids any awkward moments when the recipient sees how much you spent.
- Check for damage: Ensure the item is in perfect condition and clean.
- Box or bag: If the item is oddly shaped, place it in a box or a gift bag to simplify wrapping.
Choosing the Right Wrapping Style
Your choice of wrapping style can set the tone for the gift. Here are some popular options:
- Classic Wrap: Simple and elegant, ideal for formal occasions.
- Layered Wrap: Use multiple layers of different papers for a textured look.
- Fabric Wrap: Consider using a scarf or cloth for a sustainable option that can be reused.
- Creative Shapes: For irregular items, think outside the box; use a box or wrap in a way that highlights the shape.
Personalizing the Gift
Personal touches make gifts memorable. Here's how to add that special flair:
- Custom Gift Tags: Write a heartfelt message or an inside joke on the tag.
- Photos: Attach a small photo of a shared moment to the gift.
- Handwritten Notes: Include a note that explains why you chose this gift or a memory you share.
Avoiding Common Mistakes
Wrapping can be tricky, so keep these common pitfalls in mind:
- Too Much Paper: Use just enough paper to cover the gift without excess, which can create a bulky look.
- Uneven Cuts: Measure twice and cut once to avoid jagged edges.
- Poor Tape Application: Use enough tape to secure the paper but avoid overdoing it to maintain a clean appearance.
- Neglecting the Bow: A well-placed bow can elevate your gift. Practice tying a neat bow if you're unsure.
By following this checklist, you'll be well on your way to creating beautifully wrapped gifts that reflect your thoughtfulness and creativity. Happy wrapping!
Conclusion
Wrapping a birthday gift creatively is all about expressing your thoughtfulness and adding a personal touch. With these steps, you'll be able to create a beautifully wrapped gift that not only looks great but also shows your love and consideration. So grab your materials and start wrapping! Remember, it's the effort that counts, and your loved ones will appreciate the unique touch you bring to their special day.
Final Tips for Creative Gift Wrapping
- Choose the Right Paper: Consider the recipient's personality. For a fun-loving friend, opt for bright colors or whimsical patterns. For someone more classic, choose elegant wrapping paper in solid colors or subtle designs.
- Incorporate Personal Elements: Add a small photo or a handwritten note inside the wrapping. This adds a layer of intimacy and makes the gift even more special.
- Practice Your Technique: If you're trying a new wrapping style, practice on a box that isn't your gift. This will help you refine your skills before you wrap the actual present.
- Use Quality Materials: Invest in good-quality tape and scissors. Nothing is worse than using flimsy tape that won't hold or dull scissors that make wrapping a chore.
Checklist for Creative Gift Wrapping
- Gather your materials: wrapping paper, scissors, tape, ribbon, and any additional embellishments.
- Choose a wrapping technique: traditional, fabric wrap, or a unique fold.
- Measure your paper carefully to ensure you have enough to cover the gift.
- Wrap the gift securely and neatly, ensuring all edges are tucked in.
- Add personal touches: tags, ribbons, or other decorations that reflect the recipient's style.
- Double-check your work for any loose ends or areas needing extra tape.
Avoid Common Mistakes
- Overusing Tape: While tape is essential, excessive use can make the wrapping look messy. Aim for a balance that secures the paper without overwhelming it.
- Ignoring the Gift's Shape: Not all gifts are box-shaped. For irregular shapes, consider using a fabric wrap or a gift bag instead.
- Forgetting the Message: A beautiful wrap deserves a thoughtful message. Don't skip the card-it's a key part of the gift-giving experience.
- Neglecting Presentation: Take a moment to ensure the gift looks its best. A little fluffing of ribbons or adjusting of tags can elevate your presentation significantly.
In conclusion, the art of wrapping a birthday gift creatively not only enhances the gift itself but also amplifies the joy of giving. By following these practical tips and avoiding common pitfalls, you can ensure that your beautifully wrapped gift will leave a lasting impression on your loved ones. Happy wrapping!